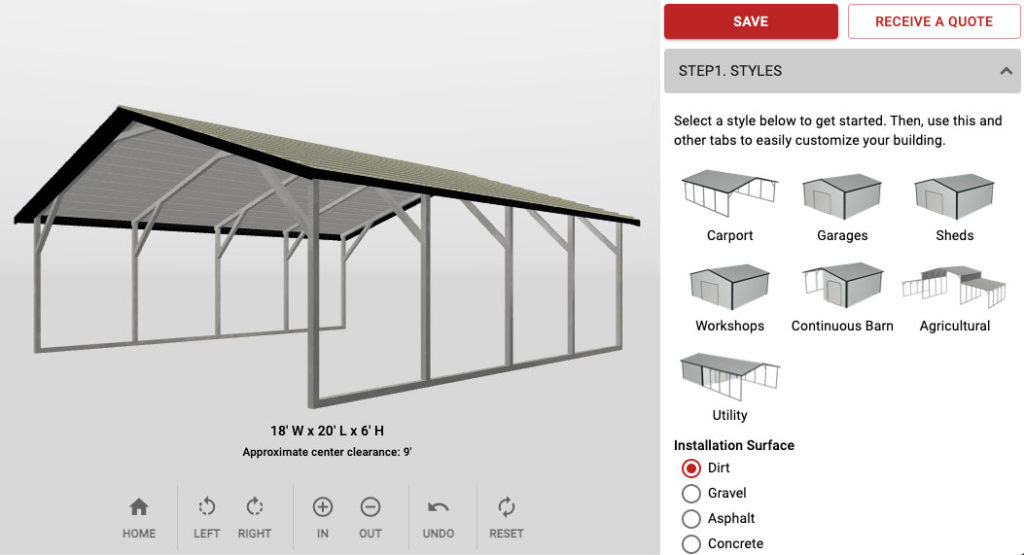
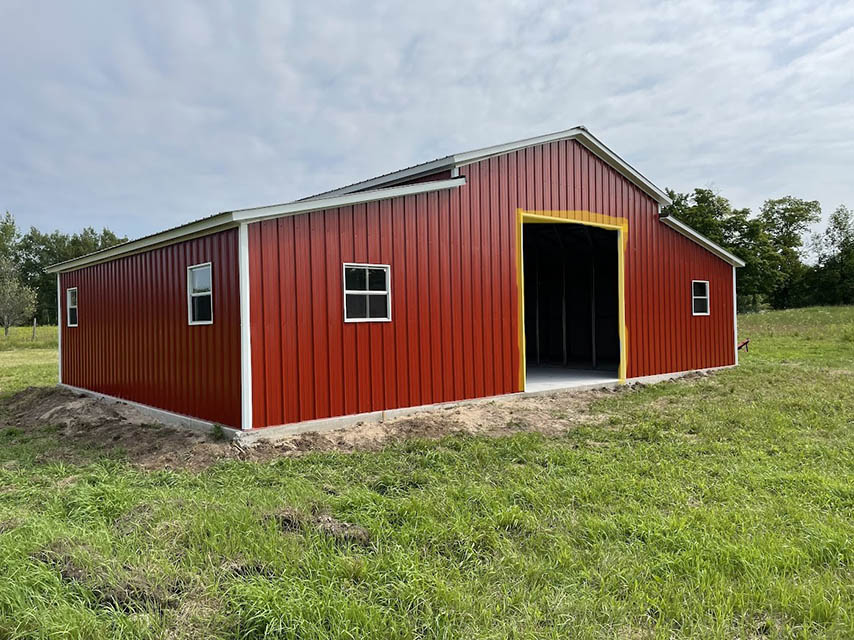
Curious about what you should expect during your new steel building installation? Although the installation is the same, the process varies among contractors. During installation, expect to see everything from installers setting your base rails to installing your accessories. The typical installation process goes as follows:
- concrete sealant
- base rails
- trusses
- legs
- anchors
- purlins
- bracing
- frame outs
- girts
- foam gap enclosures
- accessories
- insulation
- panels
- ridge cap
- trim
For info on building components on buildings 32’+ wide and up, click here!
Concrete Sealant
Concrete sealant is an optional package that varies by contractor. We recommend checking in with your project manager to ensure this is in your building’s quote! You should expect your installation crew to apply the sealant before placing the base rails. Our sealant package consists of the Emseal sealant and a concrete polyurethane sealant. First, we apply the sponge-like Emseal sealant to the bottom of the base rails. Next, when setting the base rails, the Emseal sealant flattens, filling the gaps beneath the base rails. Afterward, we apply the concrete polyurethane sealant on the edges of the base rails for additional protection against water seepage. The concrete sealant package is only available for concrete foundations!

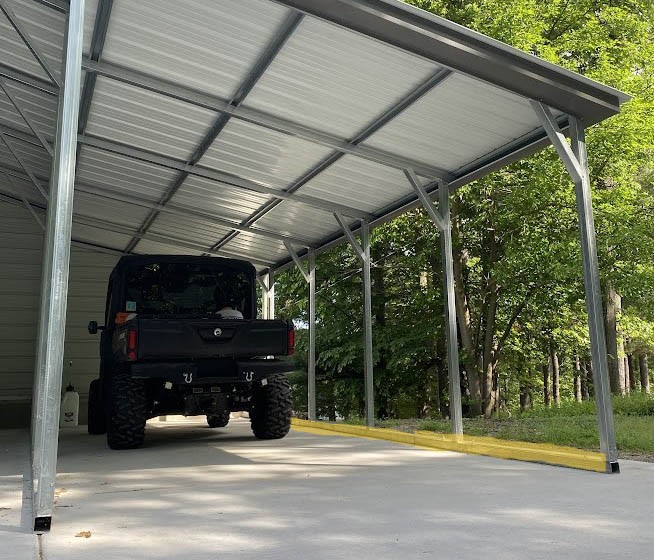
Setting Base Rails
The base rails of the building are the base of the structure and what the weight of the building rests on. The base rails hold the weight of the legs, trusses , sheeting, and more. When setting the base rails, the installation crew will set the rails down and measure them from corner to corner to ensure that the building is square.
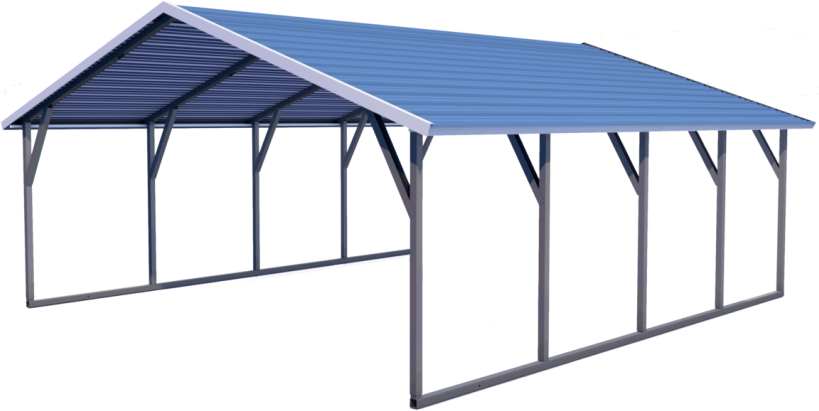
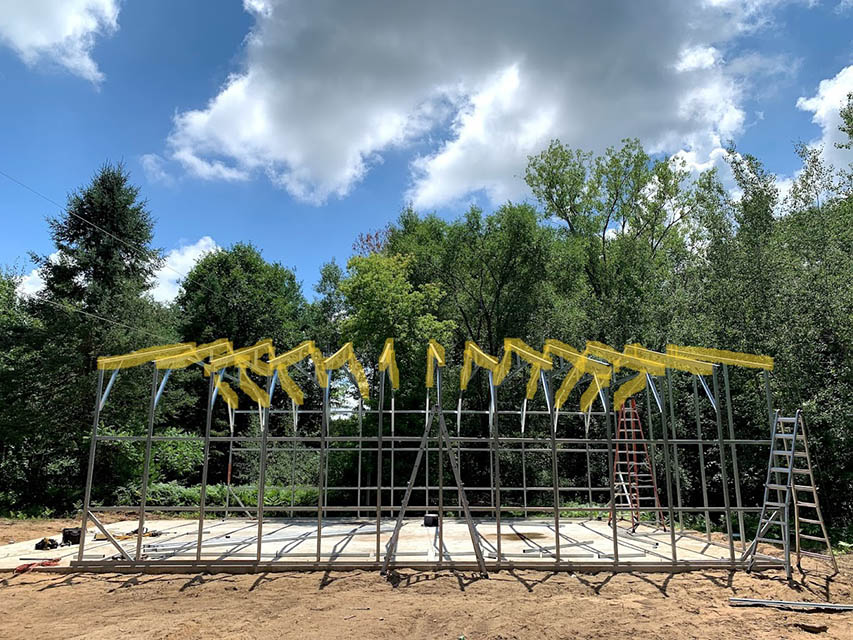
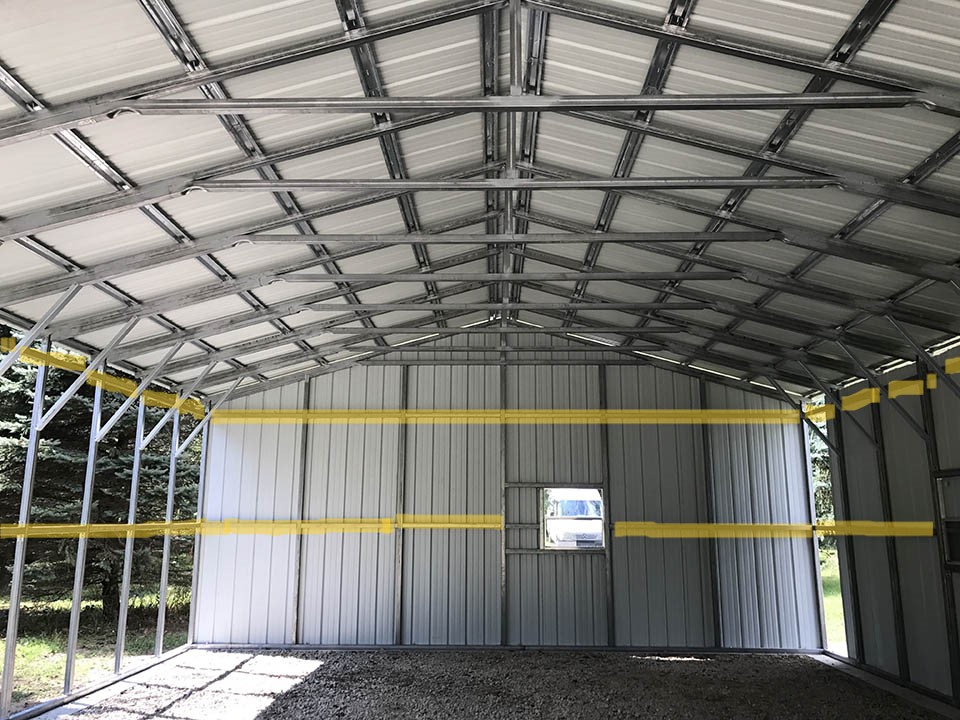
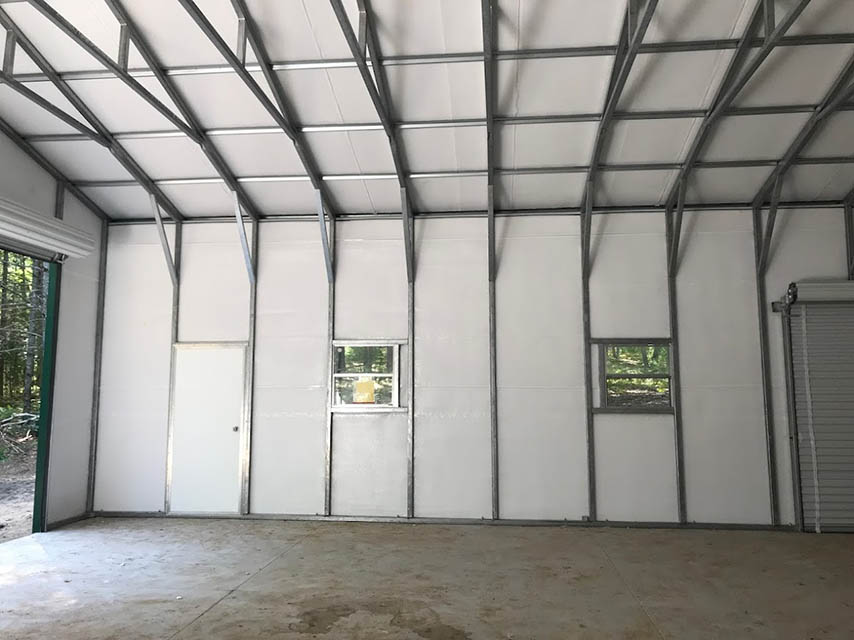
Trusses
Trusses are present on all structures. The trusses are crucial, as they provide structural support for the roof and legs. Your trusses are visible on the ceiling of the structure. First, the crew will bolt the trusses into the top of the legs. After bolting the trusses into the legs, the crew will insert the legs and trusses into the base rail’s connector sleeves.
Legs
The legs, also known as uprights or columns, are just that -the “legs” of the building. You’ll find these on the walls of your structure to support the roof and the steel sheeting. Once the crew bolts your trusses into your legs, they will raise the legs and will insert them into the connector sleeve. A connector sleeve is an insert that connects the legs of the metal building to the base rails. Depending on your area’s snow load rating, your legs can range from approx. 2′ on center to 5′ on center. The term “on center” refers to how far apart your legs are from one another.
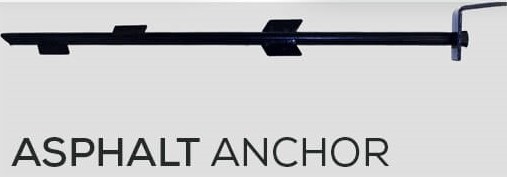
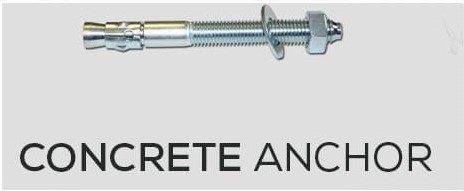
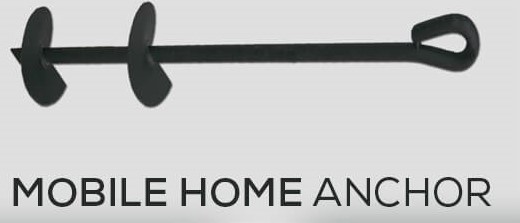
Anchors
Anchors reinforce your steel building into your foundation. When using anchors on your building, the type will depend on the foundation your building is going on. If your building is on concrete, it will require concrete anchors. However, if the building is on asphalt, it will require asphalt anchors, etc. Anchors are optional; however, we highly recommend them for every steel building. This is because anchors secure your building to the base and wind certify your structure. Each anchor has a different installation process. For example, an installer drills the concrete anchors directly through the base rail. Once in the concrete, the anchor expands outward. However, with a mobile home anchor, the installer drills it into the ground and bolts it into the base rail. On the contrary, the method for the asphalt anchor is tapping them into the ground beside the base rail and then bolted into the side.
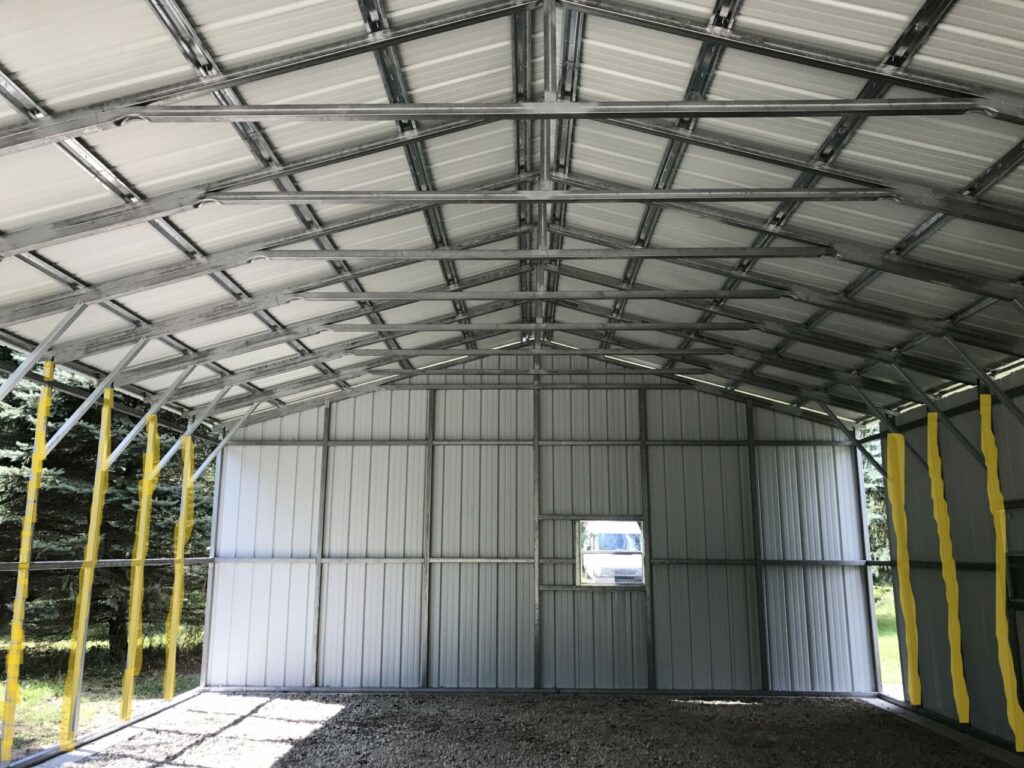
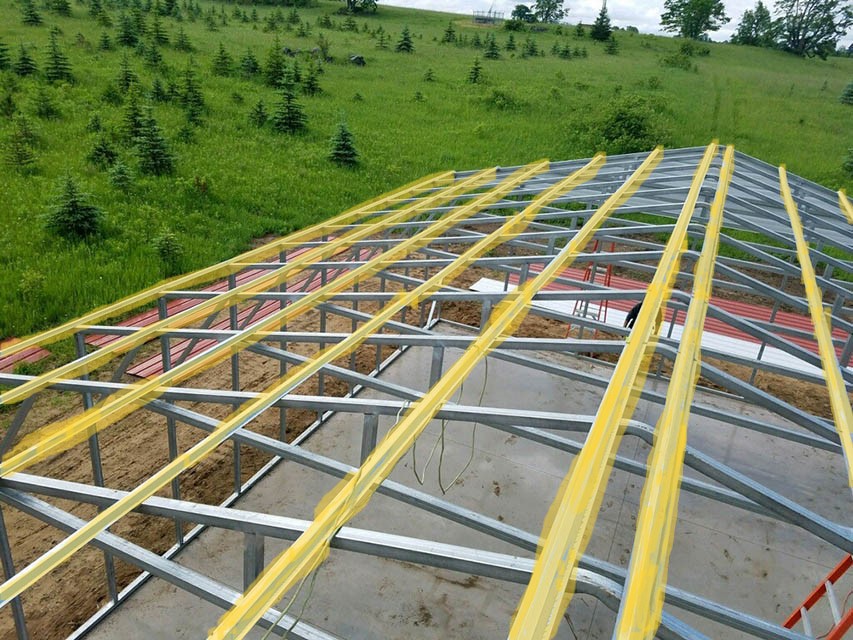
Purlins
Purlins, also known as hat channels, can be found on the interior of your a-frame vertical roof. Purlins run perpendicular to the trusses and go from one gable end to the other. Purlins support the vertical sheeting on the roof. They are installed by being directly bolted onto the top of the trusses. You won’t find these on the standard or a-frame horizontal roof styles since horizontal sheeting does not need purlins. Once the crew installs purlins, the crew moves on to installing your braces.
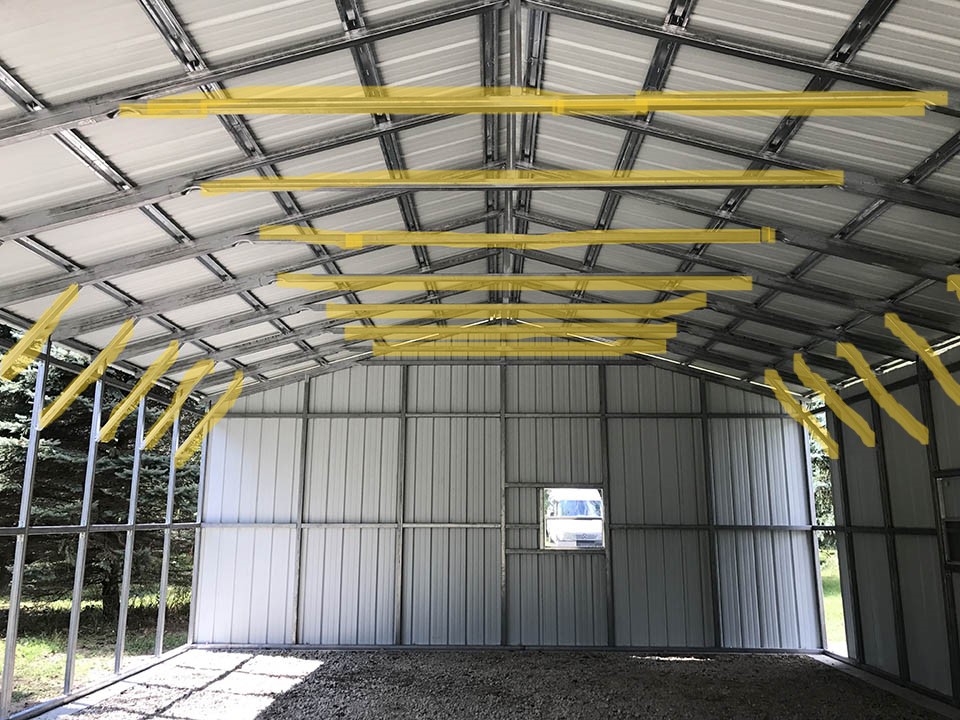
Bracing
Your steel structure includes center and corner bracing. The center bracing is found on the trusses, directly beneath the roof’s peak. On the other hand, you’ll find corner braces inside the eaves of your building. These bracings are put in place to improve structural stability and prevent the structure from collapsing and or caving in. When installing corner bracing, the crew measures the area and cuts the tubing at a 45-degree angle. From there, the crew will bolt the tubing onto the trusses. Any building 20′ wide or less will have bolted center brace. Bolted center braces are installed by being directly bolted into the peak of the trusses. Any building 22′ wide and higher will have welded center brace. Most welding for center braces are completed during manufacturing.
Frame Outs
Frame-outs are openings on the building to accommodate accessories such as windows, doors, vents, and more. These frame-outs are prefabricated and taken to the site ready for installation. The purpose of frame-outs is to support the space after removing the legs to accommodate the accessories. The frame-outs are installed after the braces and before the girts and siding.
Girts
Girts are extra square tubing used on the sides of the structure to support the vertical panels. Girts essentially serve the same purpose as the purlins. The girts run horizontally on the interior of the sides of the steel building. When installing the girts, we bolt them perpendicularly onto the legs of the structure. The girts are only for vertical structures for fastening purposes. Horizontal siding does not require girts.
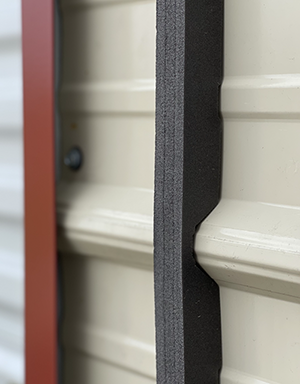
Foam Gap Enclosures
Foam enclosures are foam strips designed to align with the ridges of the sheeting. Foam enclosures seal any opening and stop light, debris, and small pests from entering the building. These may be in any areas of the building where light can enter, such as the ridge cap, roof eves, and the corners of the building. First, the enclosures are applied directly to the steel sheeting. Then, we install the sheeting with the gap enclosures already in place.
Accessories
Depending on the contractor, they may install your accessories before your panels and insulation. Accessories can range from roll-up doors or overhead doors to vents or windows. Every contractor installs accessories differently, and we recommend checking with your project manager for more details!
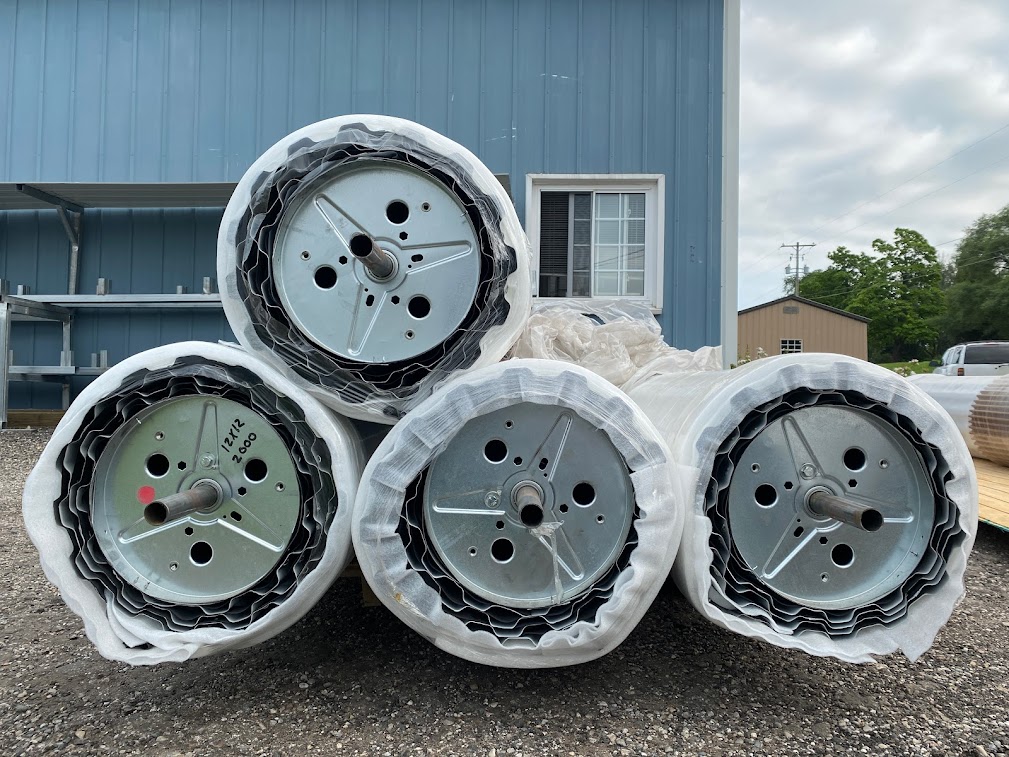
Insulation
If your structure has roll-out insulation, such as our radiant barrier, we install this directly onto your framework in sections. When installing the roll-out insulation, it goes directly onto your legs. Once the insulation is bolted onto the frame, the next step is installing the panels on top. With roll-out insulation, you no longer need foam gap enclosures. However, the gap enclosures will help minimize any extra light entering the building.
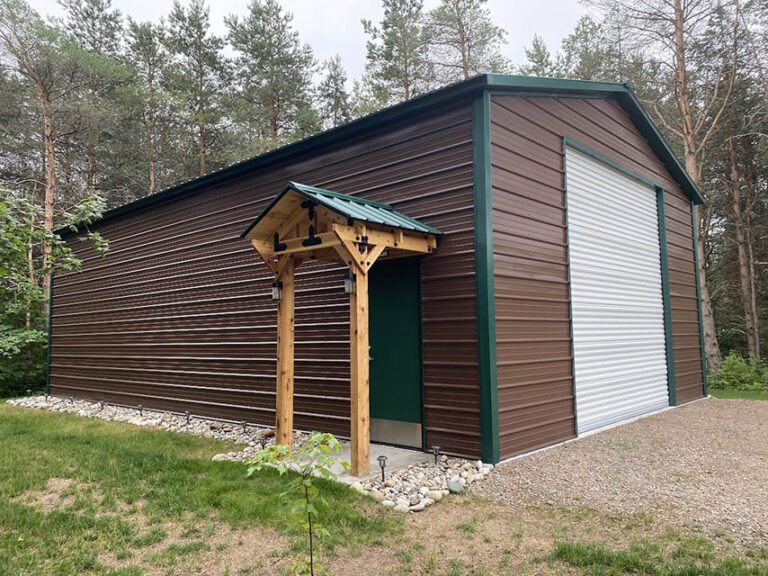
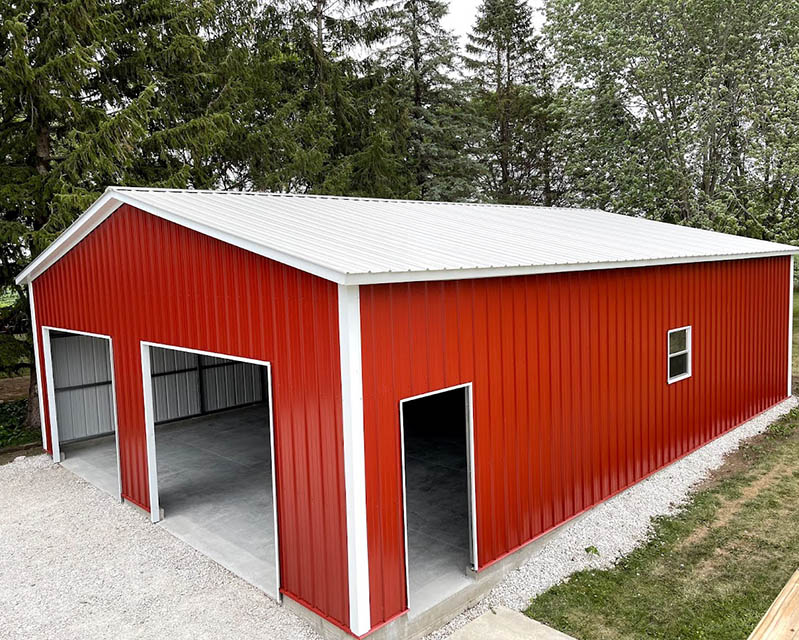
Panels
Depending on your contractor, they may begin with the panels on the roof or the panels on the sides. When installing your steel sheeting, the panels are laid against the framework and bolted directly into the material. Once bolting your sheeting into the framework of your building, the panels are secure. When installing vertical panels, the panel will appear with the ridges running up and down. On the contrary, with horizontal panels, the ridges will appear running left to right.
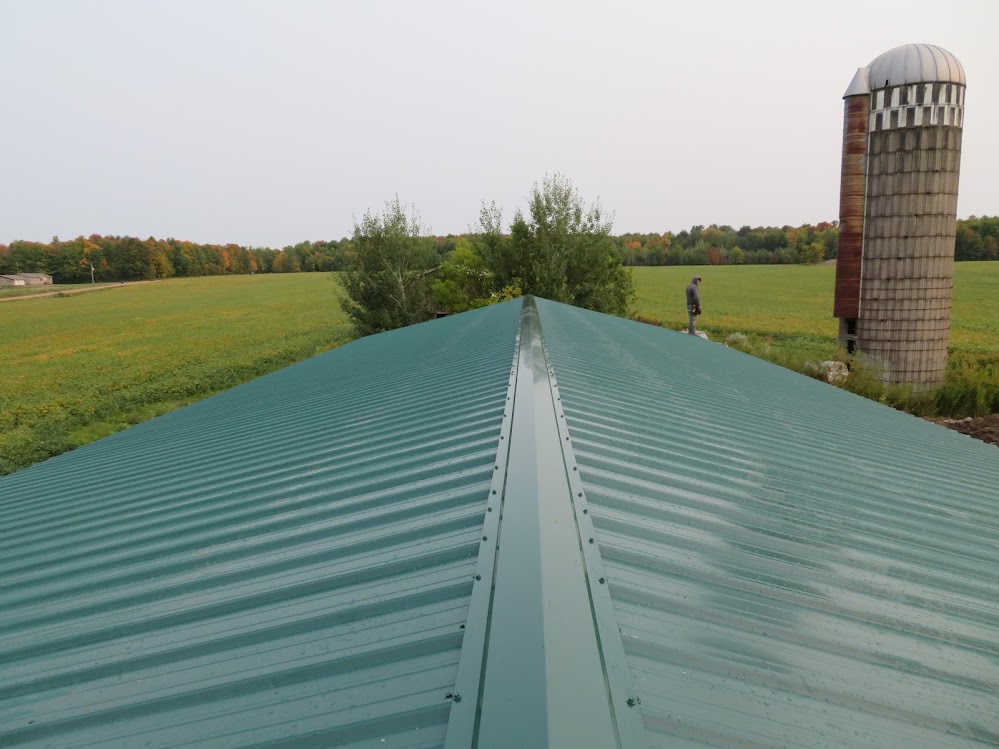
Ridge Cap
The installation crew will install the ridge cap on the roof of the building to enclose where the vertical sheeting meets. The ridge cap is not required on horizontal roof styles because the panels do not meet at the roof’s peak. Ridge caps eliminate any water, snow, debris, or small pests from entering the building through that opening. During installation, we also apply a foam strip onto the opening. Next, we bolt the steel ridge cap directly into the steel panels on the roof.
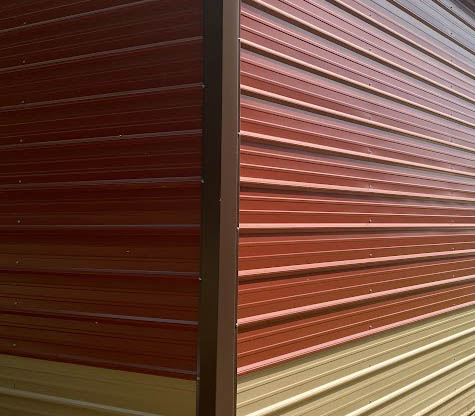
Trim
Trim work is the final installation step. Installing trim will cover any ridged edges on the sheet panels and give your steel building a finished look. Many different trim styles utilized on your building all serve a different purpose. A few of these trim options include the base trim, corner trim, J-trim, and L-trim. Your crew will install the base trim before the rest of your siding. This trim minimizes water seepage and acts as a barrier against any small pests. Corner trim is on all the corners of your structure to enclose where the steel sheeting meets. J-trim is typically on windows, service doors, and any ridged edges, such as tall partial sides. Lastly, L-trim is on any roll-up door and overhead door openings. The crew will bolt the corner trim, J-trim, and L-trim directly onto your panels.
Conclusion
Although the installation process varies among contractors, your contractor will likely install similar building components. Building components include sealant, base rails, trusses, legs, anchors, anchors, bracing, frame-outs, accessories, insulation, panels, ridge caps, and more. For more details on building components for building 32’+ wide and up, check out this blog!
Midwest Steel Carports, Inc.
(877) 235-5210
For more content, follow us on: